#
How to Add a Custom Domain to Your SellAll Store
Enhance your SellAll store's professional appearance and boost customer trust by adding a custom domain. Follow these simple steps to integrate your domain seamlessly with SellAll.
#
Step 1: Access Your SellAll Dashboard
- Log in to your SellAll account.
- Navigate to Store Settings > General > Custom Domain.
#
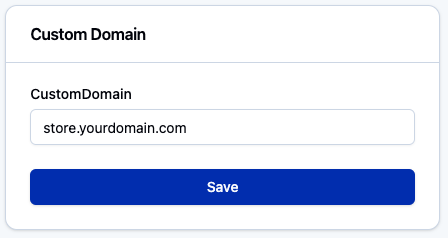
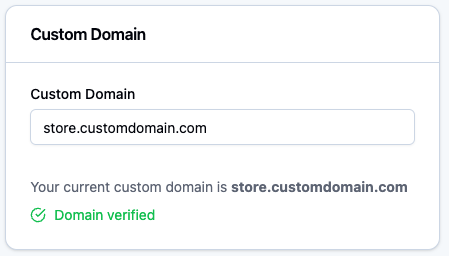
Step 2: Enter Your Custom Domain
- In the Custom Domain field, enter your desired domain (e.g., store.yourdomain.com).
- Click Save to proceed.
#
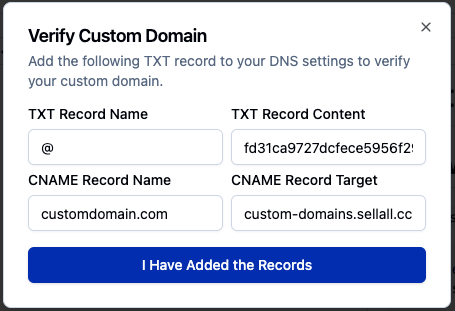
Step 3: Configure DNS Records
After saving, SellAll will provide you with two essential DNS records in a dialog box:
- A CNAME record pointing to
custom-domains.sellall.cc - A TXT record for domain verification
#
Step 4: Update Your DNS Settings
Access your domain registrar's DNS management panel (or your DNS provider if different) and add the following records:
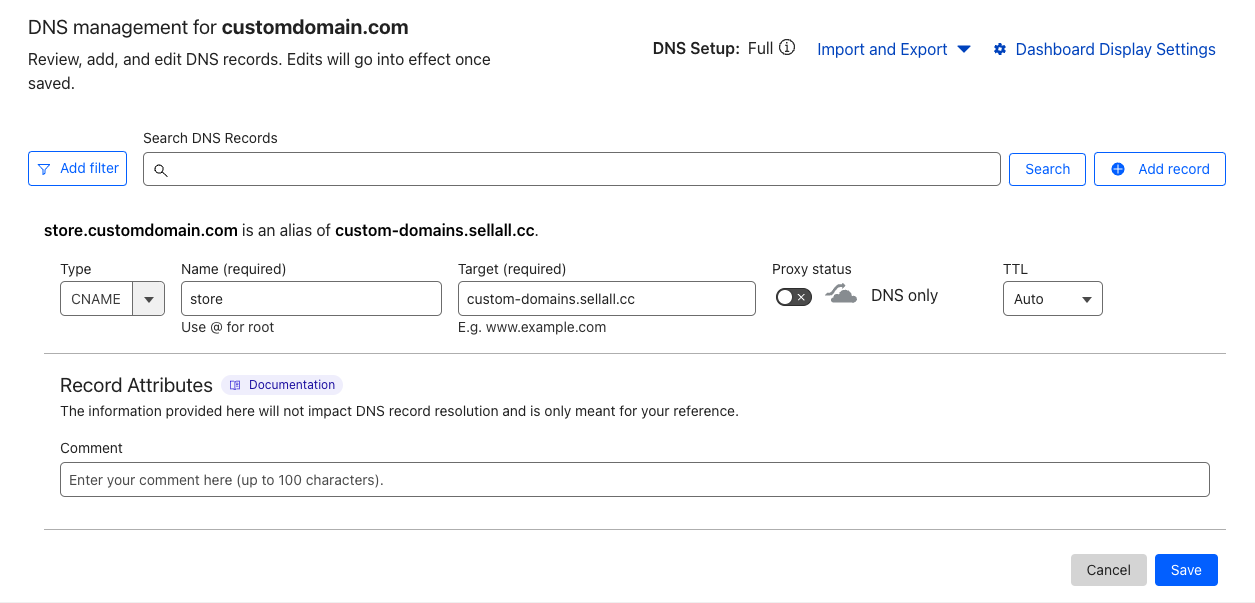
Add a CNAME record:
- Host/Name: Your subdomain (e.g., 'store' or '@' for root domain)
- Value/Points to:
custom-domains.sellall.cc
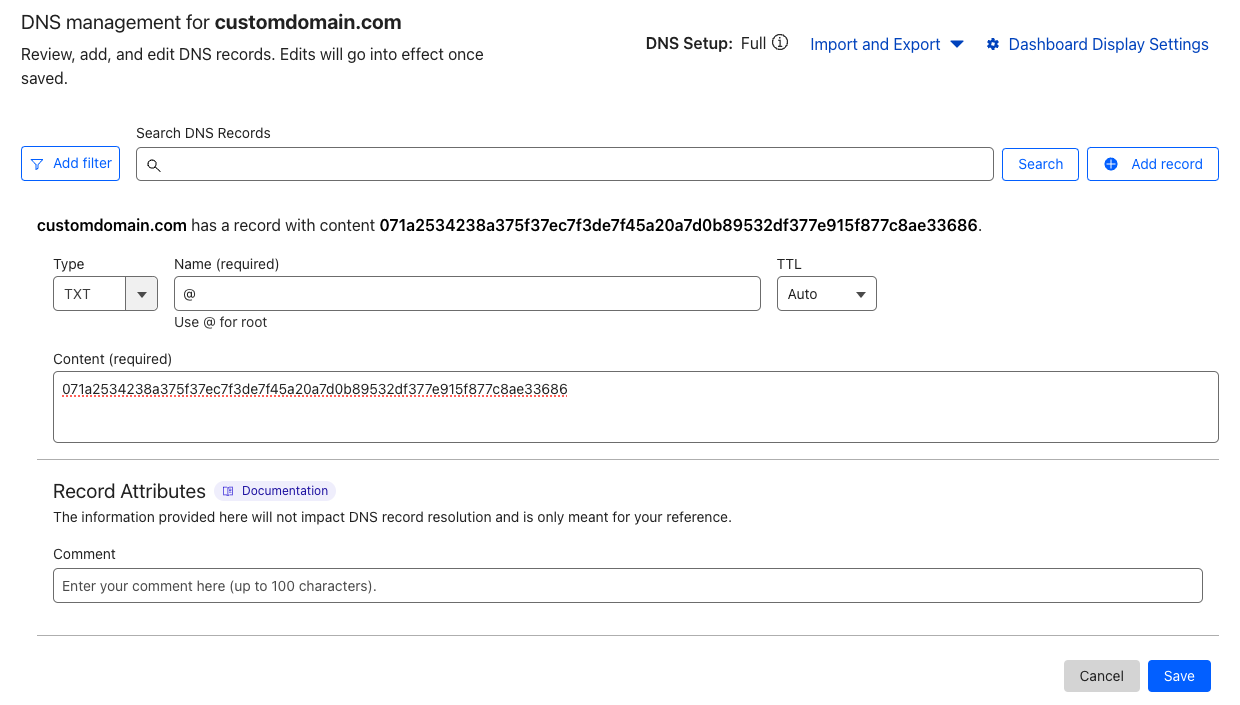
- Add a TXT record:
- Host/Name: Usually '@' or left blank
- Value: The verification code provided by SellAll
#
Step 5: Verification
- The verification process typically takes a short while but may extend up to a few hours.
- Regularly check your SellAll dashboard and click on "I have added the records" to verify the setup. If successful, you'll see a confirmation message and your custom domain status will change to "Active."
- Once verified, your custom domain will be fully active and integrated with your SellAll store.
#
Note for Cloudflare Users
If you're using Cloudflare for DNS management:
- Follow the same steps to add the CNAME and TXT records.
- Important: Ensure the CNAME record is not proxied through Cloudflare. Set the proxy status to "DNS only" (gray cloud icon).
#
Troubleshooting
If you encounter any issues or the verification process seems prolonged:
- Double-check your DNS settings to ensure all records are correctly added.
- Verify that you've waited long enough for DNS propagation (can take up to 48 hours in some cases).
- Contact SellAll support for assistance if problems persist.
By following these steps, you'll successfully add a custom domain to your SellAll store, creating a more professional and branded experience for your customers.